National Park Photography Guide: Best Camera Settings, Locations & Pro Tips (2026)
National parks are among the most rewarding places for photographers. From dramatic mountain ranges and colorful wildflowers to wildlife encounters and dark night skies, these protected landscapes offer endless opportunities to capture unforgettable images.
Whether you are using a professional camera or a smartphone, learning a few photography fundamentals can dramatically improve your results. This national park photography guide covers everything you need to know, including camera settings, gear recommendations, composition techniques, wildlife photography tips, and strategies for finding the best photo locations.
By the end of this guide, you’ll be prepared to create stunning images during your next national park adventure.
Why National Parks Are Perfect for Photography
National parks provide some of the most photogenic landscapes in the world. Unlike urban environments, they offer untouched scenery, diverse ecosystems, and constantly changing natural conditions.
Diverse Landscapes in One Destination
A single national park can contain mountains, rivers, forests, waterfalls, deserts, and meadows. This variety allows photographers to capture multiple styles of images without traveling long distances.
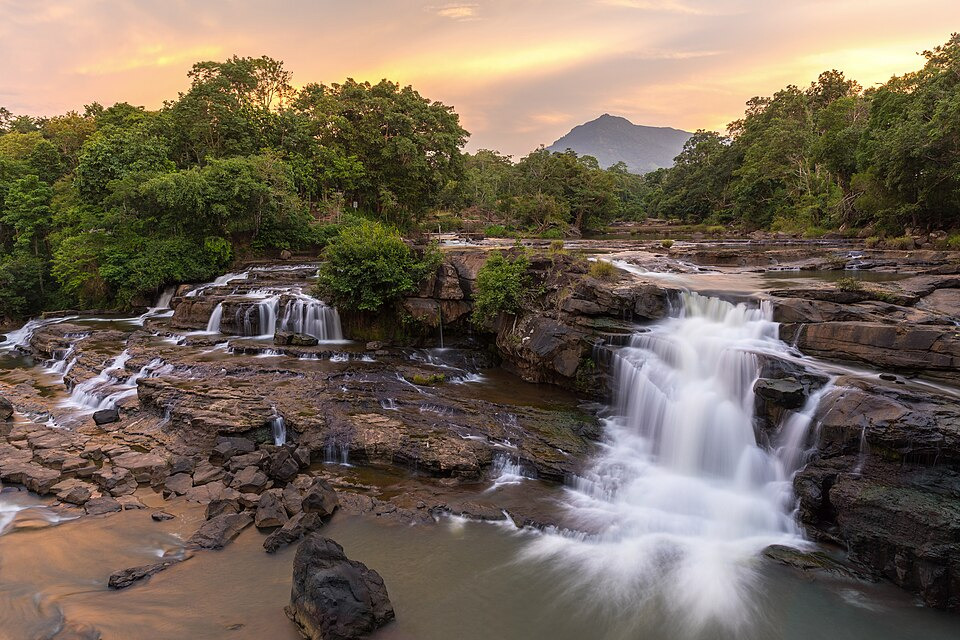
For example, you might photograph:
- Mountain panoramas at sunrise
- Forest trails during midday
- Waterfalls in the afternoon
- Wildlife at dusk
- Star-filled skies at night
This diversity makes every visit unique.
Wildlife Photography Opportunities
Many national parks protect important wildlife habitats. Visitors often encounter:
- Elk
- Bison
- Deer
- Black bears
- Birds of prey
- Foxes
- Mountain goats
Wildlife photography adds excitement because every encounter is different and unpredictable.
Sunrise, Sunset, and Night Sky Photography
Natural light transforms landscapes throughout the day.
Sunrise often provides:
- Soft light
- Fewer visitors
- Calm weather conditions
Sunset can create:
- Warm colors
- Dramatic shadows
- Stunning cloud formations
Many national parks are also recognized as dark-sky destinations, making them excellent locations for astrophotography.
Seasonal Changes That Create Unique Images
The same location can look completely different throughout the year.
Spring offers wildflowers and flowing waterfalls.
Summer provides lush greenery and longer daylight hours.
Fall delivers vibrant foliage colors.
Winter creates snowy landscapes and unique atmospheric conditions.
Photographers who revisit parks during different seasons often discover entirely new compositions.
Essential Photography Gear for National Park Trips
Having the right equipment improves your ability to capture quality images in changing conditions.
Choosing the Right Camera
DSLR Cameras
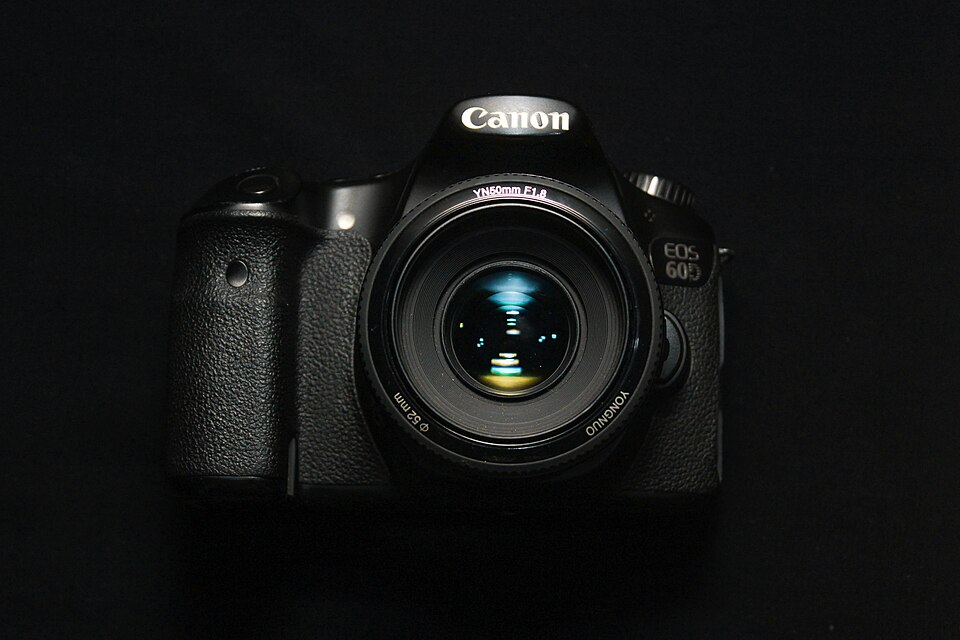
Advantages:
- Excellent image quality
- Long battery life
- Wide lens selection
Best for photographers seeking maximum control.
Mirrorless Cameras
Advantages:
- Lightweight
- Fast autofocus
- Excellent image quality
Popular among travel photographers due to portability.
Smartphones
Modern smartphones can produce impressive results, especially in good lighting.
Benefits include:
- Convenience
- Lightweight design
- Built-in editing tools
For beginners, a smartphone is often enough to learn photography fundamentals.
Recommended Lenses
Wide-Angle Lenses for Landscapes
Wide-angle lenses help capture:
- Mountain ranges
- Valleys
- Lakes
- Large vistas
Popular focal lengths:
- 14mm
- 16mm
- 24mm
Telephoto Lenses for Wildlife
Wild animals should never be approached closely.
Telephoto lenses allow photographers to capture detailed images from a safe distance.
Common choices include:
- 200mm
- 300mm
- 400mm
- 600mm
All-Purpose Travel Lenses
Travel zoom lenses offer flexibility when carrying multiple lenses is impractical.
Examples:
- 24–70mm
- 24–105mm
- 18–135mm
Must-Have Accessories
Tripod
Essential for:
- Sunrise photography
- Sunset photography
- Waterfalls
- Night photography
Extra Batteries
Cold temperatures can reduce battery performance.
Always carry backups.
Memory Cards
Running out of storage can ruin a photography trip.
Bring multiple high-speed cards.
Lens Cleaning Kit
Dust, rain, and fingerprints can affect image quality.
Photography Gear Checklist Before You Leave
Before visiting a park, verify that you have:
- Camera
- Lenses
- Batteries
- Memory cards
- Tripod
- Filters
- Cleaning cloth
- Weather protection
- Camera backpack
Understanding National Park Photography Rules and Ethics
Photography should never harm wildlife or natural environments.
Leave No Trace Principles for Photographers
Follow these guidelines:
- Stay on designated trails
- Avoid trampling vegetation
- Pack out all trash
- Respect sensitive habitats
A photograph is never worth damaging nature.
Wildlife Photography Safety Guidelines
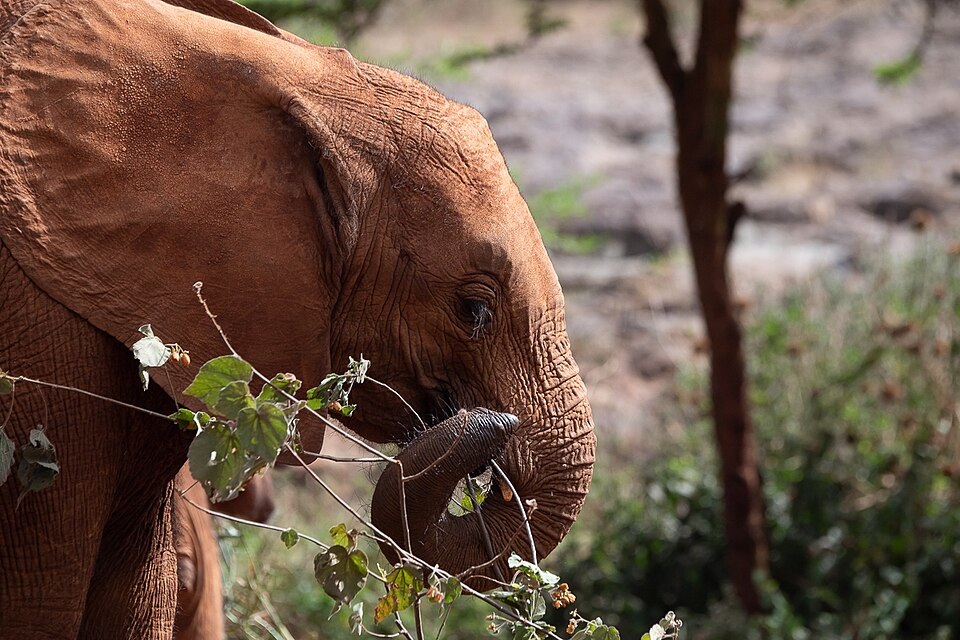
Maintain safe distances.
Never:
- Feed animals
- Chase wildlife
- Block animal movement
- Use photography to stress animals
Respecting wildlife creates better long-term conservation outcomes.
Drone Regulations in National Parks
Many U.S. national parks prohibit recreational drone use.
Always check park-specific regulations before your visit.
Respecting Other Visitors and Natural Habitats
Be mindful when setting up tripods or photographing crowded viewpoints.
Everyone deserves to enjoy the landscape.
Best Camera Settings for National Park Photography
Understanding camera settings helps you achieve sharper and more professional images.
Landscape Photography Settings
Recommended starting point:
- Aperture: f/8 to f/11
- ISO: 100
- Tripod when needed
These settings maximize detail across the frame.
Wildlife Photography Settings
Animals move quickly.
Recommended settings:
- Shutter speed: 1/1000 second or faster
- Continuous autofocus
- Burst shooting mode
These help freeze movement.
Waterfall Photography Settings
For silky water effects:
- Shutter speed: 1–5 seconds
- Low ISO
- Tripod required
Sunrise and Sunset Photography Settings
Use:
- ISO 100–400
- Aperture f/8–f/11
- Exposure compensation if necessary
Monitor highlights carefully.
Night Sky and Milky Way Photography Settings
Typical starting settings:
- Aperture f/2.8
- ISO 1600–3200
- Exposure 15–25 seconds
Experiment depending on your camera and conditions.
How to Find the Best Photo Spots in National Parks
Great photos often come from planning rather than luck.
Using Park Maps and Trail Guides
Study maps before arrival.
Look for:
- Scenic overlooks
- Lakes
- Waterfalls
- Mountain summits
Researching Viewpoints Before Your Visit
Review:
- Photography blogs
- Visitor guides
- Trail reports
Research saves time and improves results.
Exploring Lesser-Known Locations
Many photographers focus only on famous viewpoints.
Consider:
- Side trails
- Less-visited overlooks
- Remote areas
These often produce unique images.
Timing Your Visit for Better Lighting
A great location can look ordinary under harsh midday light.
Light often matters more than location.
Golden Hour Photography in National Parks
What Is Golden Hour?
Golden hour occurs shortly after sunrise and before sunset.
The sun sits lower in the sky, producing softer and warmer light.
Why It Produces Better Photos
Benefits include:
- Rich colors
- Reduced contrast
- Long shadows
- Improved texture
Planning Around Sunrise and Sunset
Arrive early.
Many photographers miss the best light because they arrive after sunrise.
Common Golden Hour Mistakes to Avoid
Avoid:
- Arriving late
- Forgetting a tripod
- Ignoring weather forecasts
- Leaving immediately after sunset
Some of the best colors appear after the sun disappears below the horizon.
Wildlife Photography Tips for National Parks
Maintaining Safe Distances
Always prioritize safety.
Use telephoto lenses instead of approaching animals.
Tracking Animal Activity Times
Wildlife is often most active:
- Early morning
- Late evening
Plan accordingly.
Best Camera Settings for Moving Subjects
Use:
- Fast shutter speeds
- Continuous autofocus
- Burst mode
These improve your chances of capturing sharp images.
Capturing Natural Animal Behavior
Patience is often more important than equipment.
Wait quietly and observe animal behavior patterns.
Landscape Photography Techniques That Improve Your Shots
Using Foreground Elements
Foreground subjects add depth.
Examples:
- Wildflowers
- Rocks
- Fallen logs
- Rivers
Leading Lines and Natural Framing
Leading lines guide viewers through an image.
Examples:
- Trails
- Rivers
- Roads
- Fence lines
Creating Depth in Large Scenes
Include:
- Foreground
- Midground
- Background
This creates a stronger sense of scale.
Working with Different Weather Conditions
Don’t avoid bad weather.
Storms, fog, snow, and clouds often create dramatic photographs.
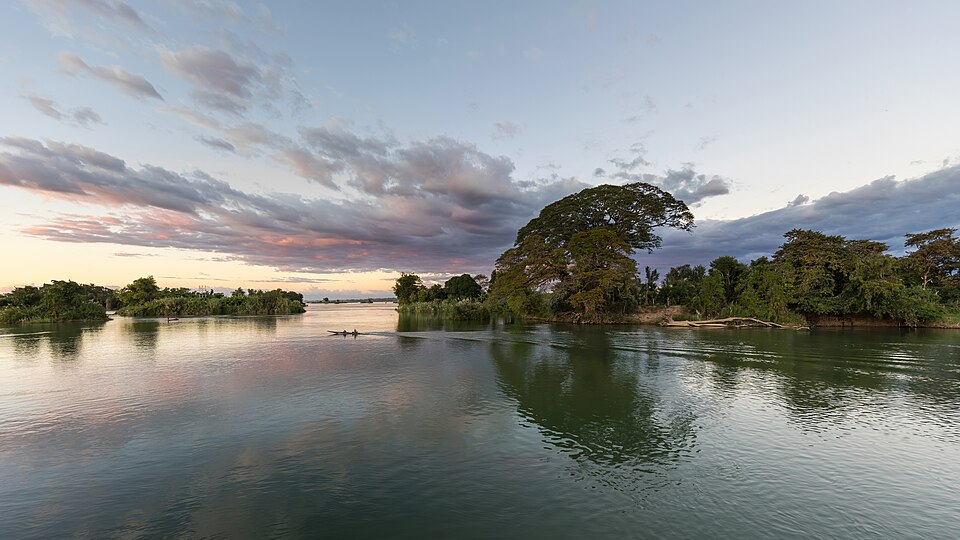
National Park Photography by Season
Spring Photography Opportunities
Spring offers:
- Wildflowers
- Waterfalls
- Fresh greenery
Summer Photography Opportunities
Advantages include:
- Long daylight hours
- Accessible trails
- Active wildlife
Fall Color Photography
Autumn provides:
- Vibrant foliage
- Cooler temperatures
- Beautiful contrast
Winter Landscape Photography
Winter creates:
- Snow-covered peaks
- Ice formations
- Minimal crowds
How to Photograph Waterfalls, Lakes, and Rivers
Long Exposure Techniques
Long exposures create smooth, flowing water effects.
A tripod is essential.
Using ND Filters
Neutral density filters reduce incoming light.
This allows slower shutter speeds during daylight.
Avoiding Overexposed Water Highlights
Check your histogram regularly.
Bright water can lose detail quickly.
Safety Tips Near Water
Always prioritize safety.
Wet rocks can be extremely slippery.
Night Photography and Stargazing in National Parks
Why National Parks Are Ideal for Astrophotography
Many parks have minimal light pollution.
This creates excellent conditions for photographing stars.
Basic Milky Way Photography Setup
Recommended equipment:
- Tripod
- Wide-angle lens
- Remote shutter release
Recommended Camera Settings for Stars
Starting point:
- f/2.8 aperture
- ISO 3200
- 20-second exposure
Adjust as needed.
Dark Sky Photography Safety Tips
Carry:
- Headlamp
- Warm clothing
- Backup batteries
Always know your route before darkness falls.
Common National Park Photography Mistakes to Avoid
Arriving Too Late for Good Light
Many iconic images depend on timing.
Arrive early.
Ignoring Weather Forecasts
Weather dramatically affects photography.
Always check conditions.
Overpacking Gear
Too much equipment can slow you down.
Bring only what you’ll actually use.
Disturbing Wildlife for Photos
Ethical photography should always come first.
Relying Only on Auto Mode
Learning manual settings provides greater creative control.
Editing Your National Park Photos
Basic Adjustments That Improve Images
Focus on:
- Exposure
- Contrast
- White balance
- Sharpness
Enhancing Colors Naturally
Avoid excessive saturation.
Natural-looking edits often age better.
Correcting Exposure Issues
Recover:
- Highlight detail
- Shadow detail
When possible.
Organizing and Backing Up Photos
Create a reliable workflow.
Use:
- External drives
- Cloud storage
- Organized folders
Protecting your images is just as important as capturing them.
Sample One-Day Photography Plan for a National Park Visit
Sunrise Shooting Schedule
- Arrive 45 minutes before sunrise
- Set up composition
- Capture changing light
Midday Photography Strategy
Focus on:
- Forest scenes
- Wildlife
- Waterfalls
Sunset Photography Session
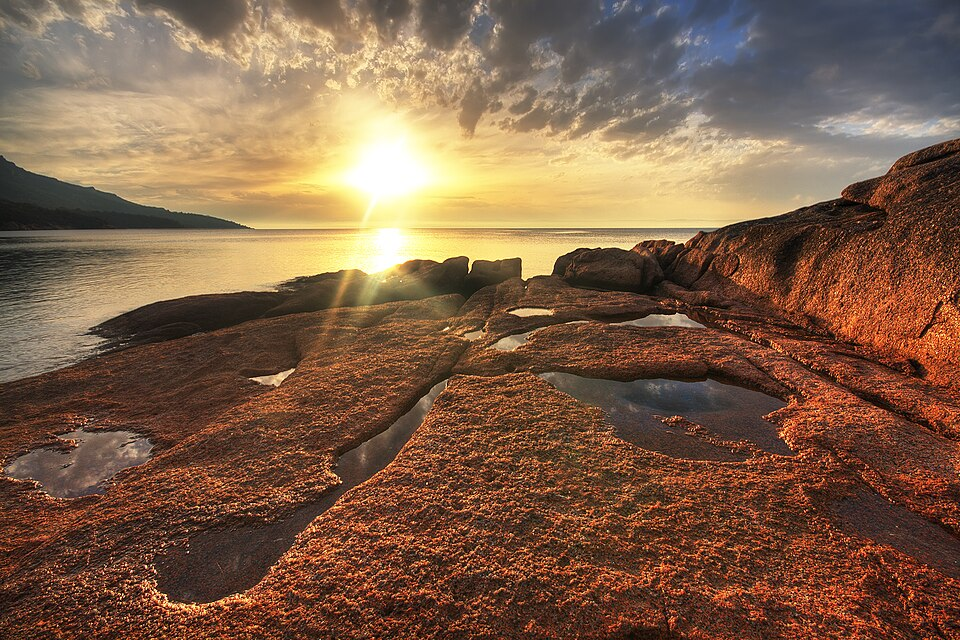
Scout locations earlier in the day.
Return before sunset.
Night Sky Photography Opportunity
Stay after dark if conditions allow.
Capture:
- Stars
- Milky Way
- Moonrise
Frequently Asked Questions
What camera is best for national park photography?
Any camera can capture great photos. Mirrorless and DSLR cameras provide the most flexibility, while modern smartphones are excellent for beginners.
Can I take professional photos in national parks?
Yes. However, some commercial photography activities may require permits depending on the park and project.
What lens is best for landscape photography?
Wide-angle lenses between 14mm and 24mm are popular choices for landscapes.
Are drones allowed in national parks?
Most U.S. national parks restrict or prohibit drone use. Always verify current regulations before visiting.
What time of day is best for photography?
Sunrise and sunset generally provide the best natural lighting conditions.
How can beginners take better national park photos?
Focus on:
- Good light
- Strong composition
- Patience
- Practice
These factors often matter more than expensive equipment.
Final Thoughts
National park photography combines adventure, creativity, and appreciation for nature. While gear and camera settings are important, the most memorable photographs often come from careful planning, patience, and a willingness to explore beyond the most popular viewpoints.
Learn to work with changing light, respect wildlife, and visit locations during different seasons. Over time, you’ll develop your own style and create images that tell meaningful stories about the landscapes you visit.
Whether you’re photographing a sunrise over mountain peaks, a distant elk in a meadow, or the Milky Way above a desert canyon, national parks offer endless opportunities to improve your photography skills and build a collection of unforgettable images.
Read Also: Affordable National Park Trips for Budget Travelers in 2026